As “fun” as it is to take days if not months to create a mobile app, no one likes to wait. So, how can you get to something working that you can get up and running and focus on the next thing?
Enter Blynk.
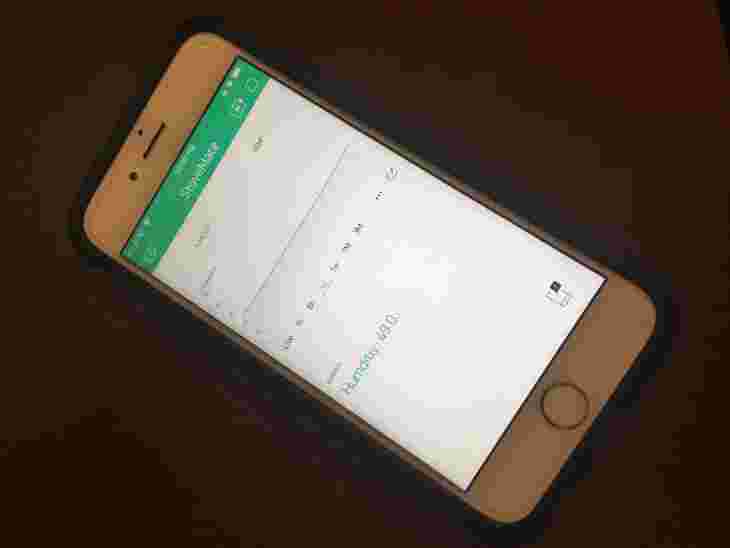
Blynk is an app that creates apps. You can use it to monitor the air inside your house or even turn your lights on and off. Your imagination is your limitation.
The best part about it?
It took about two minutes.
Here’s the steps to get started:
-
Install the library in
Particle Dev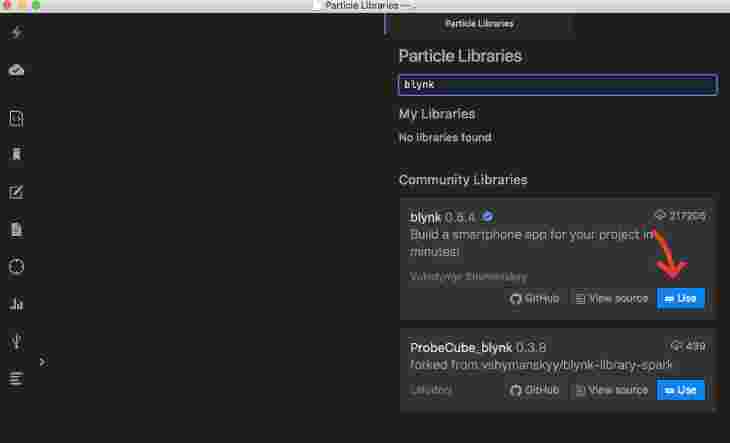
-
Include the library in your project.
#include <blynk.h> -
Add the auth key
char blynk_auth[] = "<your key here>";Note: Once you setup the Blynk app, it should give you your API key. Insert that above.
Note: Also, for safety, make sure you don’t commit this!
-
In your
setup()initialize Blynk:Blynk.begin(blynk_auth); -
Write data where needed:
Blynk.virtualWrite(<Vpin>, millis() / 1000);Where
is the virtual “pin” you’re writing to. Here are some examples of how I’m using it in my project:
Blynk.virtualWrite(V0, String::format("%.2f", onboard_humidity / 100.0)); Blynk.virtualWrite(V1, String::format("%.2f", onboard_temp / 100.0)); Blynk.virtualWrite(V2, String::format("%.3f", thermo_temp));String::formatgenerates a string from the floating point data from the sensors. -
Compile and load the firmware.
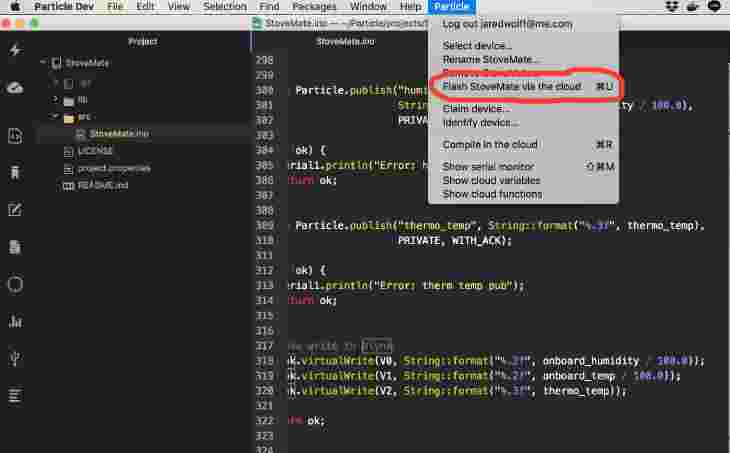
-
Now, in the Blynk app, and add your widget of choice:
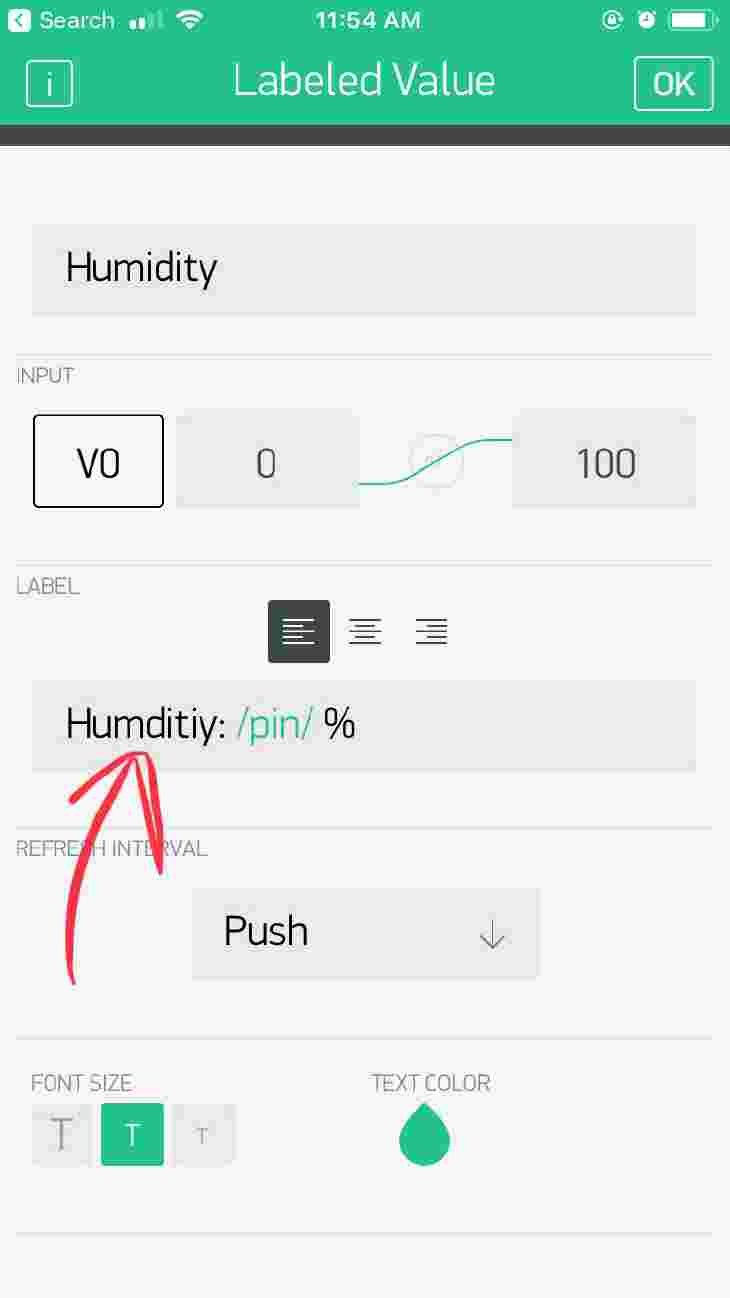
I added a labeled value in this case. I changed the label to match what I wanted it to display.
-
Finally, connect the virtual pin to that
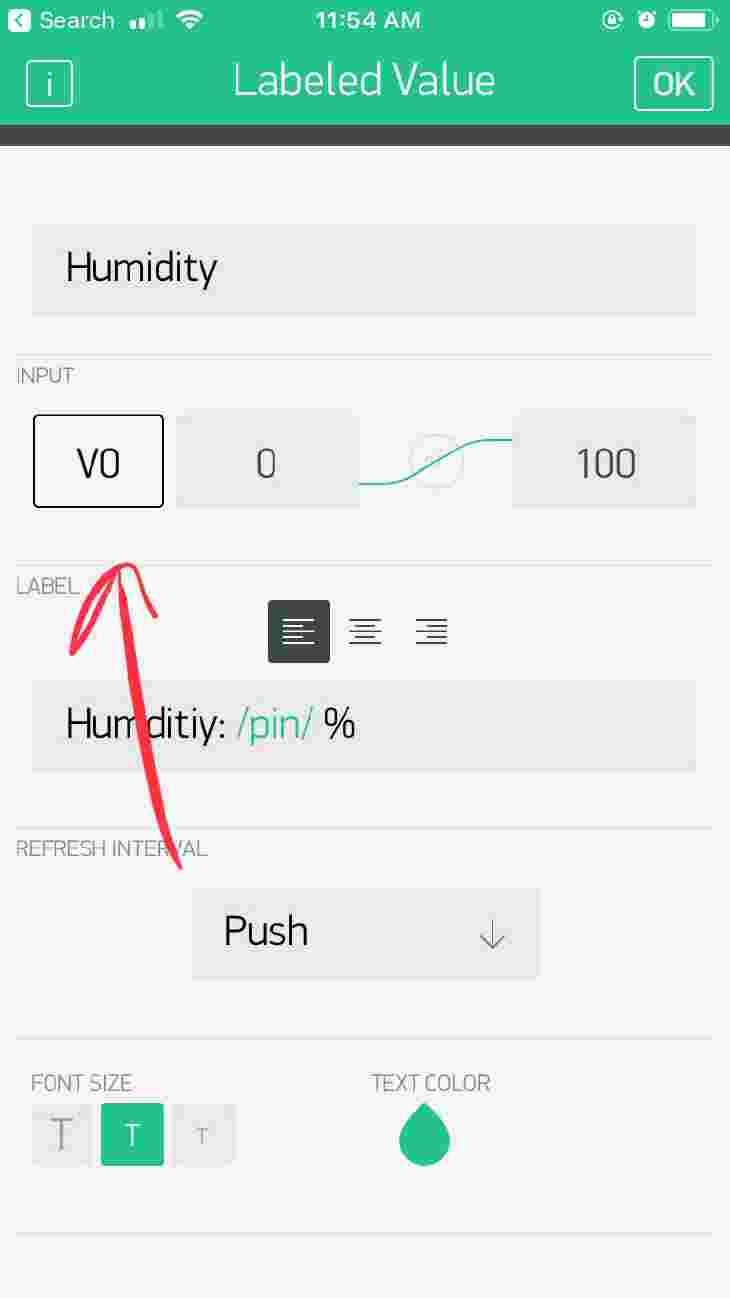
-
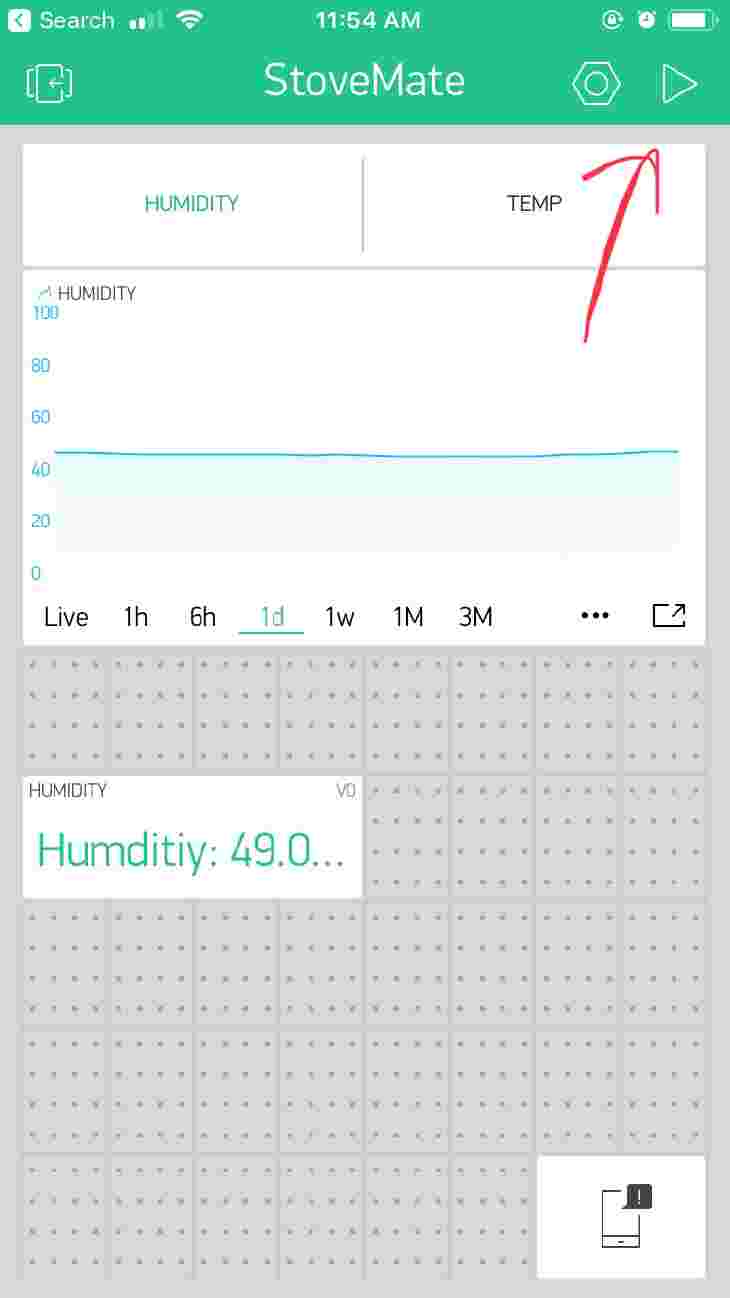
“Start the application”
-
Your app should start updating as long as your Particle is up and running. The frequency depends on your update interval. Thus, tweak that as necessary in your firmware.
In conclusion, this was a fast and convenient way to get data into a visual and mobile format. It saved me time and allowed me to focus on other things like writing this post!
Thanks for reading and be sure to signup for my free newsletter below so you’re never be in the dark.
😎👇
Last Modified: 2020.3.7

